This is an excerpt from the Book called “Creative Homeowner Affordable Bathroom Upgrades“. Continue reading to learn more about Tub And Shower Upgrades, thanks to the author.
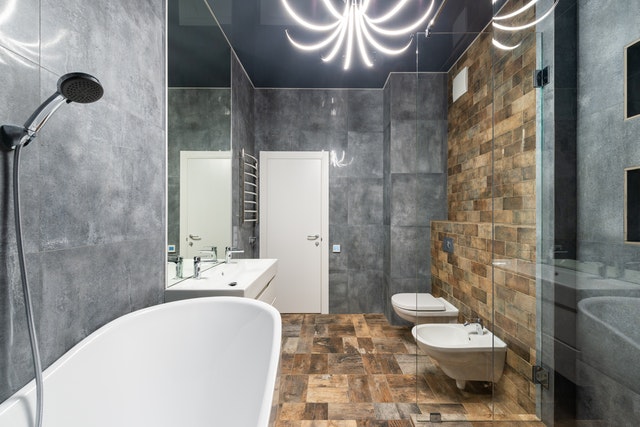
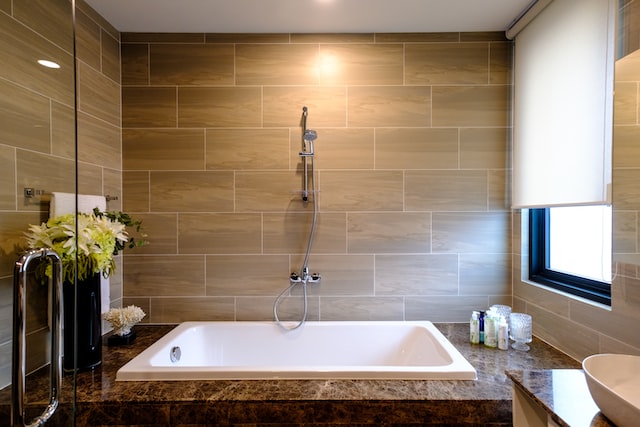
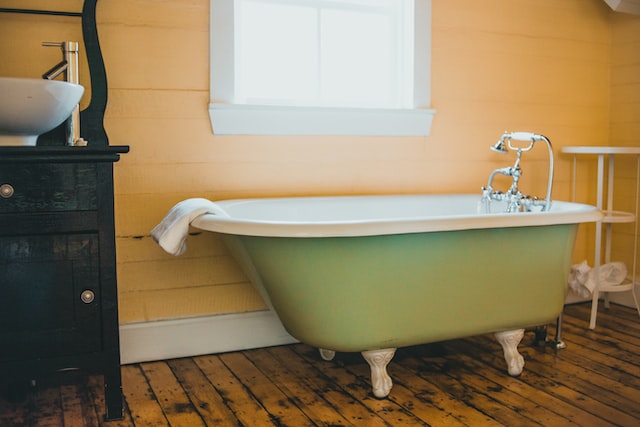
Posh photos of high-end bathrooms often feature a stand-alone bathtub, with perhaps a separate shower elsewhere in the room. Average homeowners usually do not have separate tubs for occasional bubbly soaks; we have bathtubs that double as showers. In most cases these are 60-inch-long tubs that fit into an alcove, called a tub surround. Though this chapter will touch upon claw-foot tubs, most of its energy will be devoted to fixing up an alcove bathtub. And there’s a lot you can do, starting with projects that take a day or less and cost little: refinishing a tub; re-grouting tile; replacing showerheads, handles, and spouts; making a shower curtain; installing a door. Lastly, you may even want to replace a tub or install new shower controls. Most homeowners will hire a pro for this, but we’ll show how it’s done so you can make sure yours is done right.
Tub Refinishing
Removing and replacing a good quality cast iron bathtub will usually cost at least $1,500 probably more-and you’re likely going to have to install new tiles as well. It may take a week or so of messy construction top get the job finished. You can save money by installing a steel or acrylic tub instead, they are generally pretty durable, though they can be scratched Refinishing a tub is much less expensive-$300 is a common price-and it can be done in a day in your home, with little mess. Of course, the results are not as satisfying as a new tub. But if the job is done well a refinished tub will have a pleasant sheen that lasts 10 years or so, as long as you don’t scratch it with abrasive cleaners or sharp objects.

Opinions vary, but most people agree that do-it-yourself tub refinishing kits compromise durability. Because the cost of a professional bathroom remodel job is so low to begin with, it’s usually best to hire a pro. A search for “tub refinishers” in Craigslist or the Yellow Pages should turn up a good number of companies. Chances are, each of them will tell you that their process is the most durable. Here are some things to look for.
- A good refinisher will supply a number of references. Contact people who had their tubs refinished longer than two or more years ago to see whether the finish lasts or not
- Most quality refinishers use a two-part epoxy made specifically for bathtubs and sinks, supplied by a company that sells to professional refinishers.
- Ask about the refinishing process. It should include thorough cleaning, and etching, and sanding A special primer should be applied before the final epoxy paint is applied
- Get a guarantee that surrounding surfaces-walls, racks, sinks, and the like-will not get sprayed. An experienced professional knows how to protect these surfaces.
- Make sure the refinisher will return if any problems develop.
Refinishing A Tub
- All caulks should be removed. A razor-blade tool takes care of most of this: acid cleaning will remove the rest later. Also, any metal plates are removed.
- If the tub was previously refinished, the old finish must be removed. Some can be simply scraped off with a razor blade. To remove the rest, heavy-duty paint stripper is applied and then scraped away.
- Refinishers wear a serious respirator-not just a dust mask-when they apply acid etching compound. An abrasive pad is used to rub the etching compound into all crevices, and then the area is wiped clean with a damp sponge that is continually rinsed.
- An experienced refinishers knows how far the spray will travel and will cover everything in the line of fire. They will tape protective paper over everything nearby and put tape on horizontal surfaces farther away. A small vent fan will suck out much of the overspray.
- The refinisher sands the entire surface with 80-grit sandpaper, vacuums thoroughly, then wipers the area with a damp, lint-free rag. Lastly, he will probably wrap his hands with tape (sticky side out) and wipe to pick up the final dust.
- Special primer comes in the form of a dampened cloth in a sealed pouch. The refinisher will wipe the primer on all surfaces (inset). Then he will mix two-part epoxy and apply it with a sprayer, allowing it to dry. He’ll then apply second and third coats in the same manner.
Re-Grouting
Many tiled surfaces are in sound condition and have attractive ties but may look ugly because the grout is stamped or generally dingy, or it has failed at points. This happens most often around a bathtub or shower. Before you go to the trouble and expense of removing the tiles and installing new ones, try renewing the grout first. The results may be a pleasant surprise.
If the grout has gaps or is flaking off, you’ll need to fix it soon because even tiny holes will allow water to sleep behind the grout, which can lead to loose tiles, a damages wall behind the tiles, damage to wall studs, and even mold. If some tiles have already come loose, remove them, fix the wall as needed, and replace them.


White grout is the most common, but myriad tinted shades and hues are also available. Keep in mind that a grout that strongly contrasts with the tiles will emphasize imperfections, such as misaligned tiles, so it’s usually best to use grout that blends with the tile. You can buy custom-colored caulk to match (or at least come close to) the grout colors from a home center or from online sources.
Re-Grouting A Tub Surround
- Protect the tub by taping construction paper to its sides. Allow enough room between the tape and the wall for using a tool to remove caulk. Place a heavy drop cloth in the bottom of the tub.
- If your caulk also needs renewing (and it often does), scrape off most of it using a sharp paint scraper, then a razor-blade tool. To remove the rest, scrub with an abrasive pad dampened with mineral spirits.
- To remove the grout, hand tools usually do an effective job. Often a straight paint scraper or a utility knife is all you need. A grout saw (inset) works faster but could damage a tile if you slip while using it.
- Remove grout to a depth of at least 1/8 inch; then vacuum out any dust and particles. Wipe with a damp sponge (inset).
- Mix a batch of latex or polymer-reinforced grout. For narrow joints, use unsanded grout; if the joints are wider than 1/8 in., use sanded grout. Use a laminated grout float to press the grout into the joints; then tilt the float up to scrape away most of the excess.
- Wipe the surface using a damp sponge. Turn the sponge over when one side gets full of grout; then rinse it with clear water after a few passes to keep it clean. If you see gaps in the grout, fill them using your finger. Pay special attention to inside corners. Sponge the area several times; allow it to dry;’ then buff it with a clean cloth.