This is an excerpt from the Book called “Step-By-Step Household Repairs“.Continue reading to learn more about Replacing Broken Windows, thanks to the author.
Expect to pay dearly if a repairman comes to your house to replace a broken window. Most won’t even take on small jobs such as this, and the few who do are forced to charge what may appear to be an exorbitant amount. All the more reason to do the job yourself. The techniques for repairing wood-and metal-framed sashes differ considerably, but neither is difficult. Ably, but neither is difficult. Just be sure to wear heavy gloves whenever you work with glass panes.
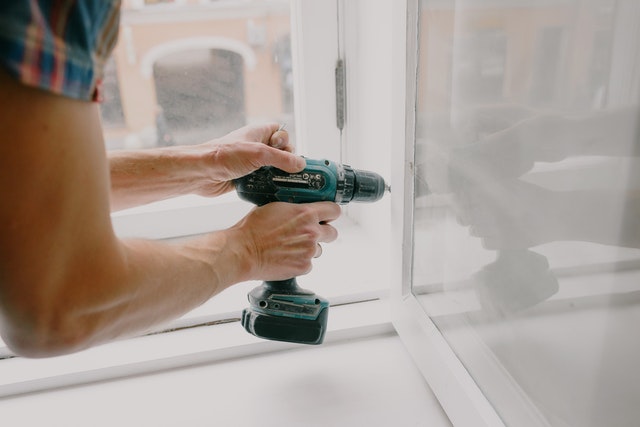
Reglazing Wood-Framed Windows
- Start by removing any loose shards of broken glass, then use an old wood chisel to pry up the glazing compound that holds the pane in place. (Soften the compound with a propane torch if necessary.) Remove the old glazier’s points which hold the pane in place.
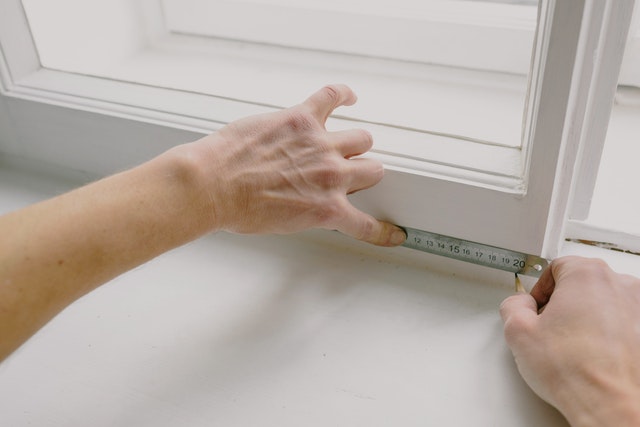
- Determine the size replacement pane needed by measuring the cleaned-out opening. Subtract 1/16 inch from each dimension 1/8 inch for acrylic panes).
- Have a glass supplier cut your replacement pane to size or cut your own. To cut your own. To cut your own, make a single score along each cut-off line with a glass cutter guided by a framing square. Then place the score over the dowel or the edge of a table and snap off the scrap piece. Trim any rough edges with pliers.
- Prime the rabbeted area of the frame in which the pane will rest with linseed oil, wait 20 minutes, then lay on a 1/16-inch bed coat of glazing compound.
- Position the glass pane, insert matchsticks around the perimeter to center the glass in the opening, and press into the glazing compound. Install two metal glazier’s point’s side as shown.
- To complete the installation, roll some glazing compound into a 1/4 –inch “rope” and press it around the sash edges.
- Bevel the compound with a putty knife held at a 30-to40-degree angle. Allow a week for the compound to dry, then paint around the installation, overlapping the glass about 1/16 inch for a tight weather seal. Don’t clean the window until the paint has dried.
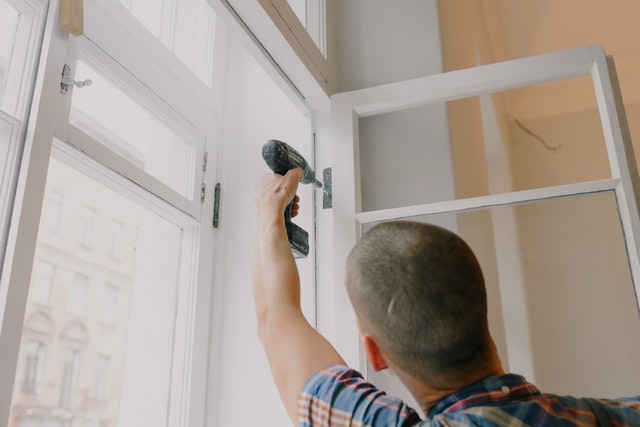
Reglazing Metal-Framed Windows
- Metal sashes come in a variety of configurations. Some are of one-piece construction in which glass is held in place by removable metal clips (augmented by glazing compound) or a flexible spline. Other sashes, the kind glaziers refer to as “knock-aparts,” have frames that disassemble for Reglazing. With the exception of some of the one-piece spring-clip types, you should remove all metal sashes from their frames when working on them.
Like wood sashes, the one-piece steel sashes (the kind often found in basement windows) hold glass in place with glazing compound. But underneath it, metal spring clips take the place of glazier’s points. One-piece aluminium frames use a vinyl or rubber spline, which you can pry out with a screwdriver and re-install with a putty knife.
In the “knock-apart” category, many sliding sashes are held to their corners. Once removed, you simply pull the frame members away from the glass. Some pin type aluminium frames have internal L-brackets “dimple” in place at their corners. To release them, drill out the dimples. To reassemble, make new dimples with an awl to hold the L-bracket in place.
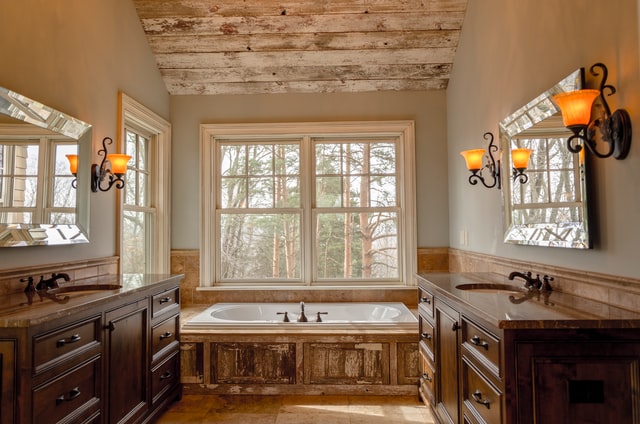
Replacing Rotted Windowsills
Considering the soaking they get in wet weather and the baking they get when the sun shines, it’s no wonder windowsills need a little more maintenance than most other household components.
The best way to keep your windowsills dry and free of rot is an annual treatment that includes puttying cracks, caulking, and repainting. To save a problem sill that has a few cracks and voids, scrape it clean and soak it with a wood preservative such as pentachlorophenol. Wait a day, then soak it again with boiled linseed oil. Finally, putty all cracks, prime, and repaint.
If you’re stuck with a sill that’s barely hanging in there, resign yourself to replacing it, following the steps.
- As this cutaway of a typical double-hung window shows, a sill is surrounded by an interlocking assortment of trim and framing opponents, both outside the winch and inside. To get at the sill, need to remove the apron stool moldings. (Pry these every carefully so you’ll be able reuse them.)
- rather than attempt to ember the old sill in one piece, use handsaw to cut completely throw it adjacent to each jamb. Be cannot to cut into the exterior side you should now be able to lift large center section directly and out (save it for use as a sample when you buy a replacement Using a hammer and, if necessary a chisel, drive the remaining material out from under the jambs. The wood should split easy-to-remove chunks.
- After you’ve cut your replacement sill to size, soak it with a preservative. When it’s ready to stall doesn’t fit the first time, force it. Instead, drive it back lightly sand the areas under jambs, and try again.
- to ensure that the sill sits tight against the jambs, you may need drive in wood shims as show when you have a snug fit, dry galvanized finish or casing through the sill and into the and framing underneath. Snap or saw through the excess shim material. Sink and fill the nailhead and caulk around the sill to fill a gaps. Prime and paint the new then reposition the apron and moldings.